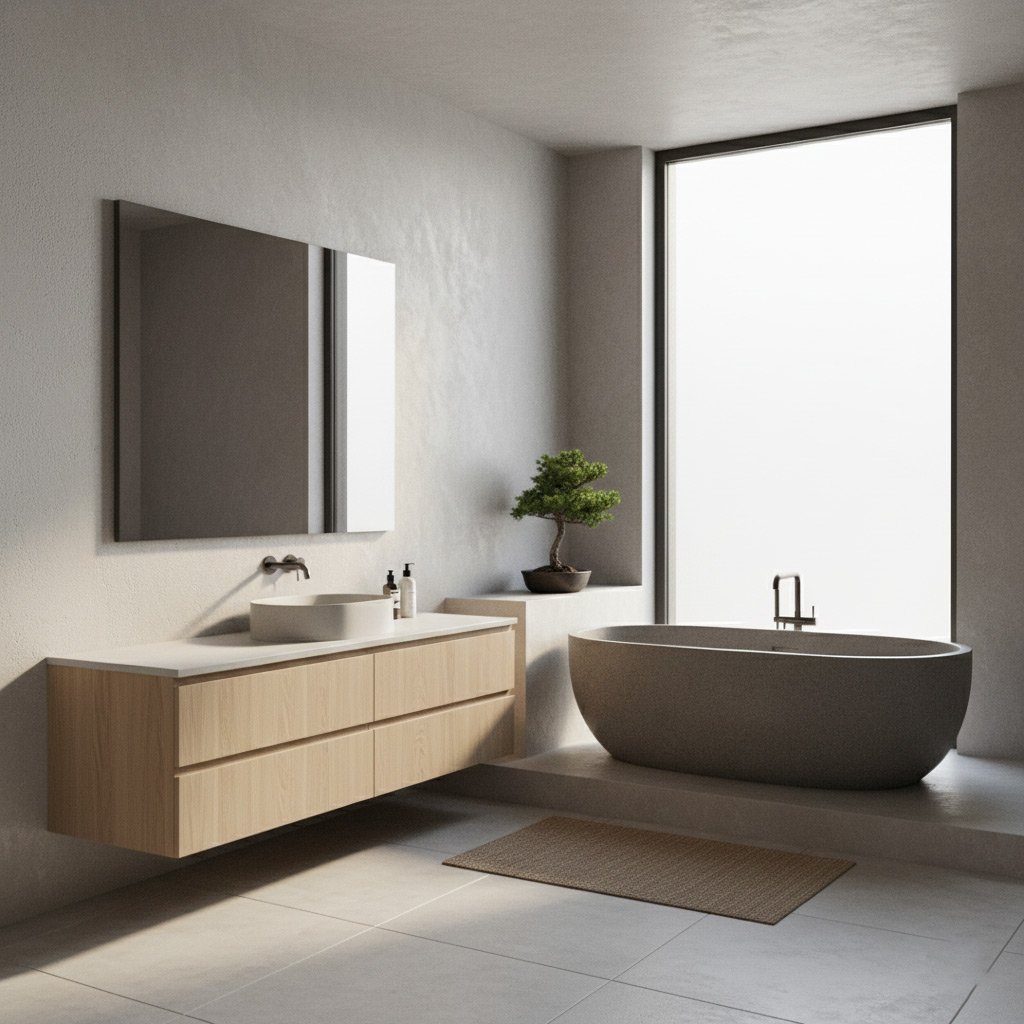
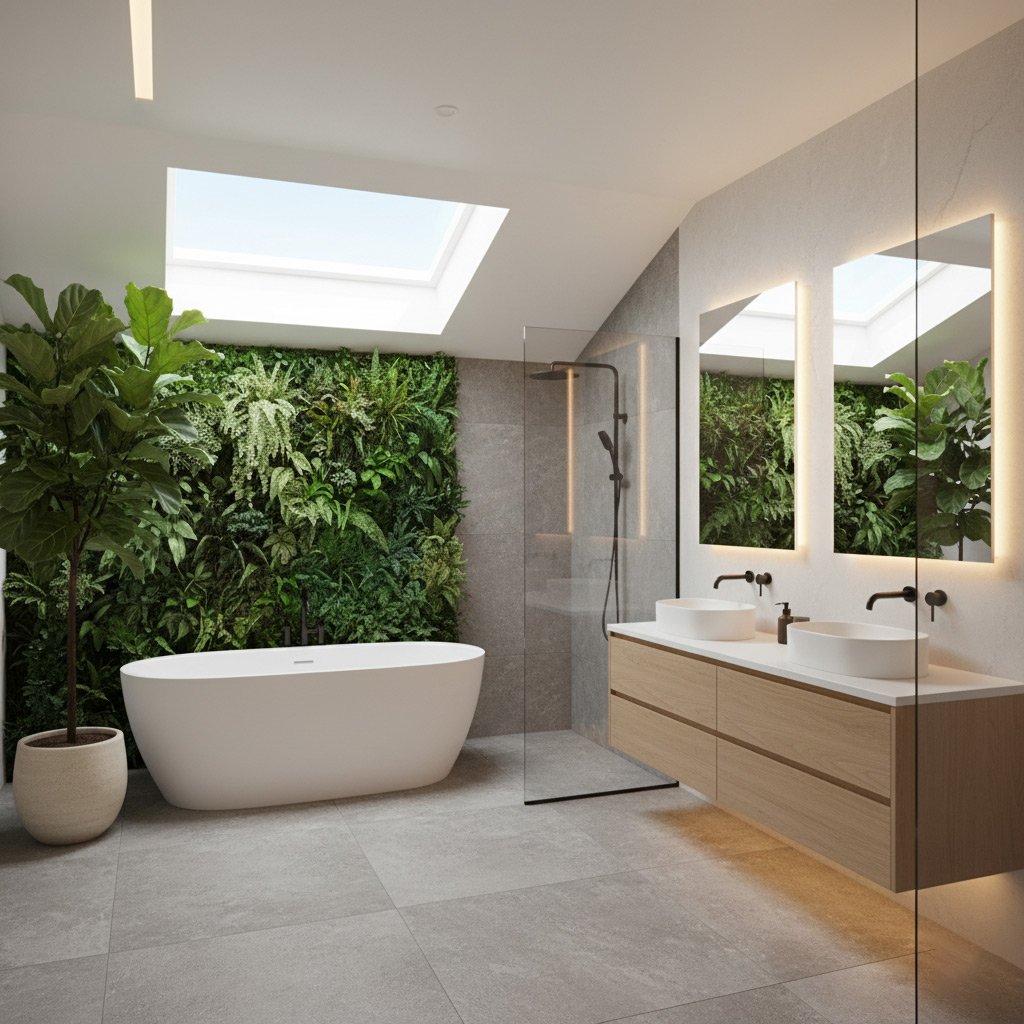
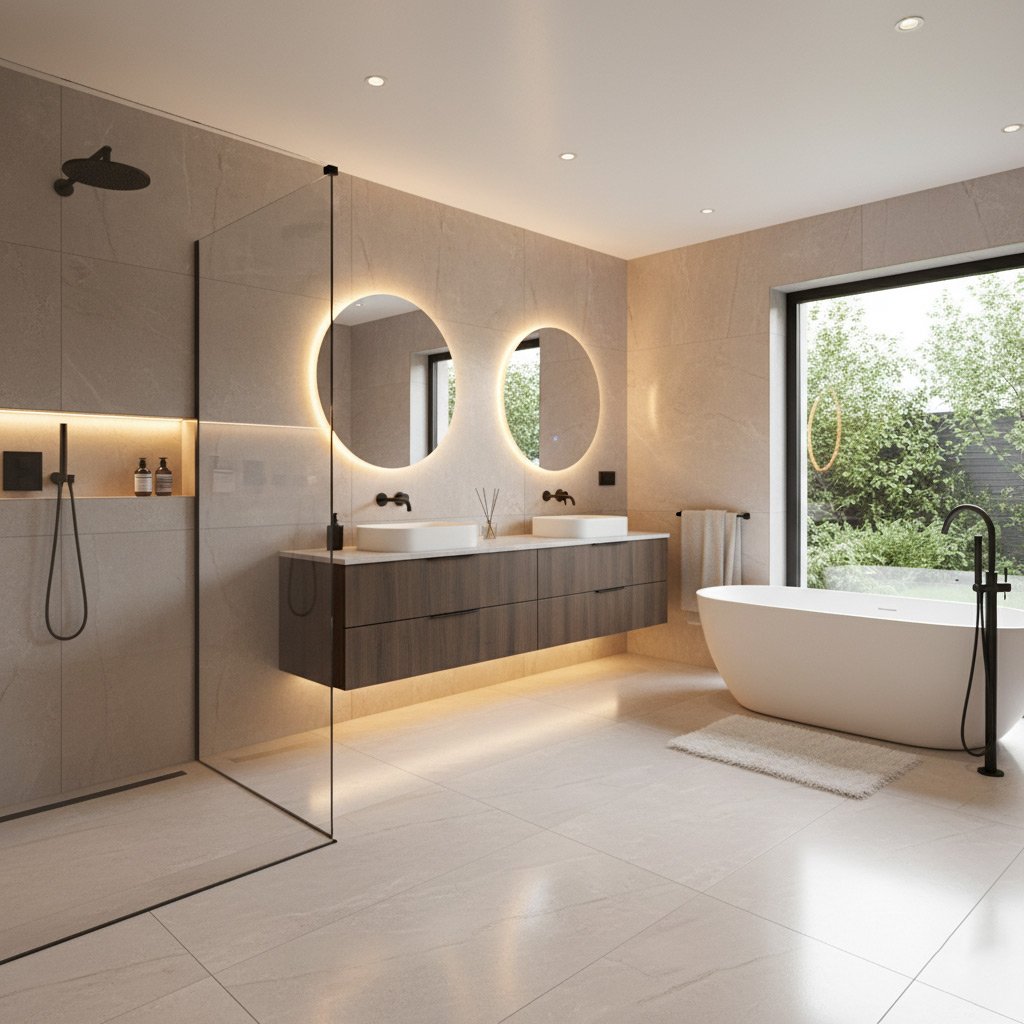
Picture this: you pull back the curtain on a bathroom that feels like a high‑end spa, yet you didn’t have to hire a million‑dollar contractor. That sleek, seamless look comes from acrylic wall panels, and they’re a perfect match for Tucson’s heat and dust.
What makes acrylic so appealing? It’s lightweight, resists cracks, and wipes clean with a single swipe—no grout lines to hide mold or stubborn stains. Plus, the material stays cool under the desert sun, keeping your bathroom comfortable year‑round.
Most homeowners stumble when they try to DIY the install, ending up with uneven seams or water leaks that turn a dream into a nightmare. That’s why we’ve mapped out every step, from prep to finish, so you can avoid the common slip‑ups and walk away with a showroom‑ready wall.
Ready to cut the guesswork and lock in that glossy, water‑tight finish you’ve been eyeing? Let’s dive into the roadmap and get those acrylic walls up and running.
Assessing Your Space & Selecting the Ideal Acrylic Panels
Measure Twice, Cut Once
Start by walking the perimeter of your bathroom with a steel tape. Jot down the height, width, and any odd angles—those niche corners love to trip up a rookie.
Next, sketch a quick floor‑to‑ceiling diagram. Mark doors, windows, and the tub’s edge. This visual cue saves you from buying panels that are either too short or wastefully long.
- Height: Standard panels run 8‑ft, but a 9‑ft ceiling may need a custom cut.
- Width: Most acrylic sheets come in 4‑ft widths; plan seams where they’ll be hidden.
- Obstructions: Light switches, vent fans, and towel bars dictate where you’ll need notches.
Panel Profiles That Play Well With Tucson
Desert heat means you want a sheet that stays cool to the touch. Look for UV‑stabilized acrylic; it won’t yellow after a few summers under the sun.
Choose a thickness that balances weight and durability—typically ¼‑inch for walls, ⅜‑inch for high‑traffic shower zones. Thicker panels resist flexing when you lean against them.
- Finish: Gloss gives that spa‑like shine; matte hides water spots.
- Color palette: Neutral tones blend with Tucson’s earthy vibe, while a bold accent can become a focal point.
- Edge style: Beveled edges hide seams; straight edges are easier to cut.
Gathering Tools, Materials, and Safety Gear
Before you even think about cutting the first panel, line up the right gear. A well‑stocked toolbox saves you from frantic trips to the hardware store mid‑install, and it keeps the job moving at a steady clip.
Essential Tools
- Utility knife with fresh blades – clean cuts, no ragged edges.
- Fine‑tooth metal cutting saw or a jigsaw with a carbide blade – for those tight corners.
- Measuring tape (25‑ft.) and a straight edge – accuracy is non‑negotiable.
- Rubber mallet – gentle taps to seat panels without cracking.
- Level and a laser line – keep everything perfectly plumb.
- Caulking gun – smooth, even bead every time.
Next up, the consumables that actually bond the walls together. Skimp on these and you’ll be fighting leaks for weeks.
Materials You’ll Need
- High‑quality acrylic wall panels – choose the thickness that suits Tucson’s temperature swings.
- Water‑based acrylic adhesive – strong hold, easy cleanup.
- 100% silicone sealant (mildew‑resistant) – the final line of defense against moisture.
- Backer board or waterproof membrane – optional but adds peace of mind.
- Masking tape – protects edges while you work.
Safety isn’t an afterthought; it’s part of the plan. The desert dust can be abrasive, and acrylic shards are sharp.
Safety Gear Checklist
- Cut‑resistant gloves – keep your hands intact.
- Safety goggles – eye protection is a must.
- Dust mask or respirator – avoid inhaling fine particles.
- Knee pads – you’ll be on the floor a lot.
- Long‑sleeve work shirt – prevents skin scrapes.
Preparing the Bathroom: Demolition, Surface Prep, and Moisture Control
Demolition
First, turn off the water supply and disconnect any fixtures that sit on the walls. Rip out old tile, drywall, or plaster with a hammer‑and‑chisel, keeping the work area ventilated with a shop vac.
Collect debris in heavy‑duty bags; a clean slate makes the next steps far less painful. Don’t forget to protect the floor with drop cloths so you don’t create a second mess.
Surface Preparation
Once the old material is gone, inspect the studs for rot or damage. Replace any compromised wood before you move on.
Level the substrate and fill gaps with a cement‑based patching compound. Let it cure, then sand smooth. A flat, dust‑free surface is the secret sauce for a flawless acrylic bond.
- Wipe the walls with a tack cloth to remove fine dust.
- Apply a primer designed for acrylic panels; it improves adhesion and blocks moisture.
- Check for evenness with a straightedge; any high spots will show later.
Moisture Management
Arizona’s desert climate can be deceptive—humidity spikes after a summer rainstorm are enough to ruin a careless install. Install a vapor barrier behind the panels, especially if you’re over a concrete slab.
Seal all pipe penetrations with a waterproof silicone sealant before you start mounting the acrylic. This extra step keeps water from sneaking behind the walls and causing hidden damage.
Step‑by‑Step Installation: Cutting, Fitting, and Securing the Panels
First thing’s first – lay out every panel on the floor before you touch a saw. Seeing the whole puzzle helps you spot odd angles and plan cuts that keep waste to a minimum.
Measure twice, cut once
Grab a steel tape, a carpenter’s square, and a fine‑tooth utility blade. Mark each cut line with a pencil, then double‑check the distance to the nearest stud or tile edge.
- Marking: Use a thin line so the blade stays on target.
- Scoring: Run the blade along the line, then snap the panel for a clean break.
- Trimming: For tight corners, a jigsaw with a fine blade does the trick.
When the pieces are ready, dry‑fit them against the wall. Press lightly; the panels should sit flush without forcing. If a seam looks tight, shave a millimeter off the edge and try again.
Secure the panels like a pro
Start at the bottom and work upward. Apply a thin bead of marine‑grade silicone where the panel meets the floor, then press firmly until the adhesive sets.
- Use stainless‑steel screws with rubber washers for studs.
- Space fasteners every 12‑18 inches to prevent bowing.
- Leave a 1/8‑inch gap at the top for expansion.
After the bottom row is locked, repeat the process for each subsequent panel. Snap the next piece into the groove, align the seam, and repeat the silicone bead. A quick finger‑press along the seam squeezes out excess sealant and guarantees a water‑tight joint.

Sealing, Finishing Touches, and Ensuring a Leak‑Proof Result
Seal the Deal
Once the panels are snug, grab a 100% silicone sealant made for high‑heat bathrooms. Run a bead along every seam, corner, and where the wall meets the tub or shower base. Don’t skimp—the sealant is your armor against Tucson’s occasional monsoon bursts.
Trim, Touch‑Up, and Shine
Install the finishing trim pieces to hide raw edges and give the install a polished look. A quick wipe with a non‑abrasive cleaner removes any finger marks, and a final coat of clear acrylic polish brings out that showroom gloss.
- Apply trim with a small nail gun or adhesive.
- Caulk around fixtures—showerhead, faucet, and towel bars.
- Smooth the caulk with a wet finger or caulk‑smoothing tool.
Leak‑Proof Verification
Before you call it a day, run a water test. Fill the tub or turn on the shower and watch the seams for any drips. If a spot leaks, pull the silicone back, dry the area, and re‑apply—better to fix now than later.
After the test, let the sealant cure for at least 24 hours. Then give the walls a final wipe, step back, and enjoy a bathroom that stays dry, looks sleek, and can handle the desert heat without a sweat.
Case Study: Transforming a Tucson Master Bath with Acrylic Walls
Project Overview
When the Martinez family decided to upgrade their 450‑sq‑ft master bath, they wanted a look that screamed luxury without the price tag of a full remodel. We installed 12‑mm acrylic panels on all four walls, paired with a frameless glass shower enclosure.
The goal was simple: a sleek, low‑maintenance space that could handle Tucson’s heat spikes and occasional dust storms.
Key Challenges & Solutions
Every remodel throws a curveball. Here’s how we knocked them out of the park:
- Uneven studs – We shimmed with pressure‑treated furring strips to create a flat substrate.
- High humidity in the shower zone – Applied a water‑resistant primer before the acrylic, then sealed every seam with marine‑grade silicone.
- Cutting large panels in a tight space – Used a fine‑tooth carbide blade and a guide rail for clean, straight cuts.
Results & Takeaways
The finished bathroom looks like a boutique spa: glossy walls, no grout lines, and a temperature‑stable surface that stays cool under the desert sun. The family reported a 30% reduction in cleaning time, and the acrylic held up perfectly after the first monsoon‑season rinse.
Bottom line: with the right prep and a few pro tricks, acrylic walls can turn a dated master bath into a showroom‑ready retreat—without breaking the bank.
Final Thoughts
Even after the last seam is sealed, the job isn’t truly done until you keep the surface in shape. A quick wipe‑down after each shower and a monthly inspection of the corners will catch tiny cracks before they become leaks.
Maintenance Checklist
- Use a non‑abrasive cleaner and a soft cloth – no steel wool.
- Check the caulk line every 30 days; re‑apply if you see any gaps.
- Inspect the bottom edge for water pooling; adjust the slope if needed.
When to Call a Pro
If you spot a persistent drip or a panel that won’t stay flat, it’s time to bring in a specialist. A seasoned installer can reseal the joint and save you from a costly water damage bill.
Ready to explore more acrylic options? Browse our full range of Acrylic Bath Walls and see how the right panel can transform any Tucson bathroom.
People Also Ask
What are the benefits of acrylic bath walls in Tucson’s climate?
Acrylic panels resist moisture, heat, and UV exposure, making them ideal for Tucson’s dry heat and occasional monsoon humidity. They also stay cool to the touch, enhancing comfort in a hot desert bathroom.How do I measure my bathroom accurately for acrylic panels?
Measure each wall’s height and width at floor, mid‑wall, and ceiling levels, then calculate the average. Subtract openings for fixtures and add a 2‑3% waste factor for cuts and errors.Can I install acrylic bath walls myself, or do I need a professional?
DIY installation is possible with basic carpentry skills, proper tools, and careful sealing. However, a licensed contractor ensures code compliance, especially for waterproofing and plumbing connections.What type of adhesive is recommended for securing acrylic panels?
Use a marine‑grade, waterproof acrylic adhesive that remains flexible after curing. Apply it in a continuous bead to prevent gaps and ensure a strong bond.How do I maintain acrylic walls to keep them looking new?
Clean with a non‑abrasive, pH‑neutral cleaner and a soft cloth. Avoid harsh chemicals and abrasive pads, which can dull the surface over time.Tucson Bathroom Remodel specializes in comprehensive bathroom renovations, bringing over a decade of craftsmanship to homes across Tucson, Arizona. Their team combines local knowledge with a commitment to quality workmanship, ensuring each project reflects the unique style and functional needs of the community.
Need Bathroom Remodel?
We transform Tucson bathrooms into modern, functional spaces in weeks, not months. Our streamlined process delivers quality finishes fast across zip codes 85701, 85705, 85719, 85658, 85655.
Get Bathroom Quote